 blog
blog
Affordable Backyard Hardscaping Design Ideas
Table of Contents
- Budget-Friendly Backyard Hardscaping Ideas That Transform Your Space
- DIY Hardscaping Projects for Beginners: Where to Start
- What Affects the Cost of Backyard Patio Installation
- Small Backyard Hardscaping Layout Tips That Maximize Space
- How to Compare Hardscaping Materials on a Budget
- Drainage and Base Preparation: What Most DIY Guides Skip
- Frequently Asked Questions
Last Updated: October 13, 2026
Budget-Friendly Backyard Hardscaping Ideas That Transform Your Space
Affordable backyard hardscaping design ideas start with one principle: spend where the ground stays put, save where it does not.
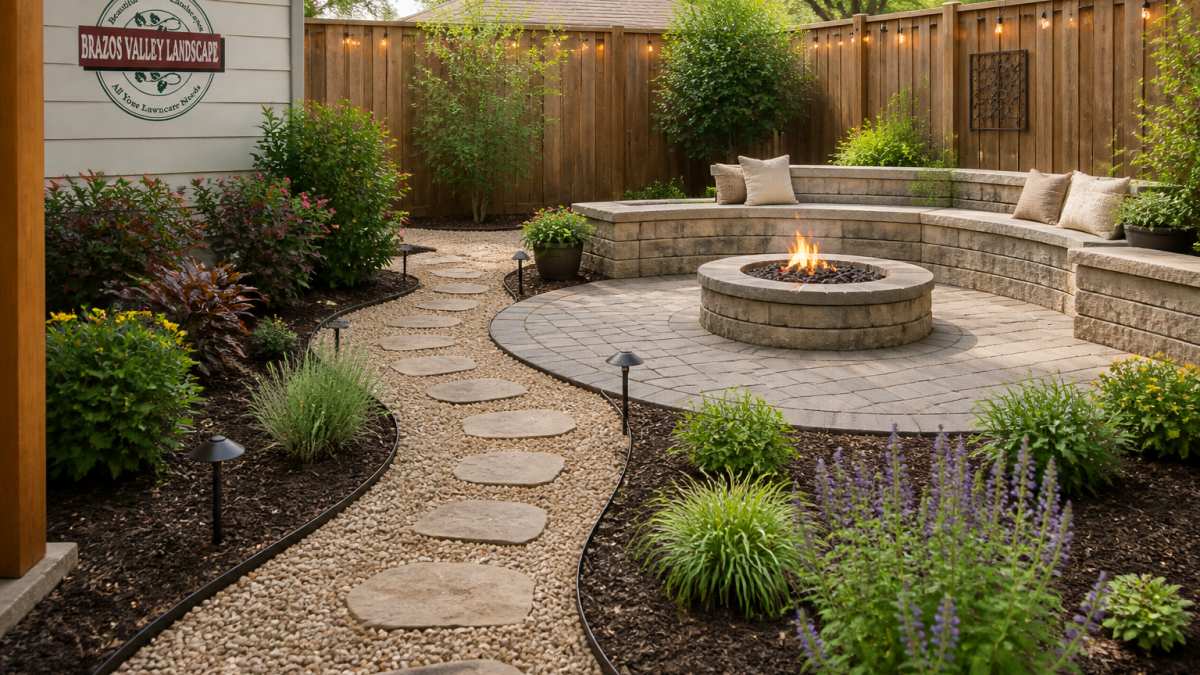
Backyard hardscaping is the permanent, built layer of an outdoor space: patios, paths, walls, edging, fire features, and the base materials underneath.
Below are the projects that deliver the most visual change per dollar, plus the installation steps, cost drivers, and drainage details most budget guides skip.
Paver Patios and Patio Upgrades
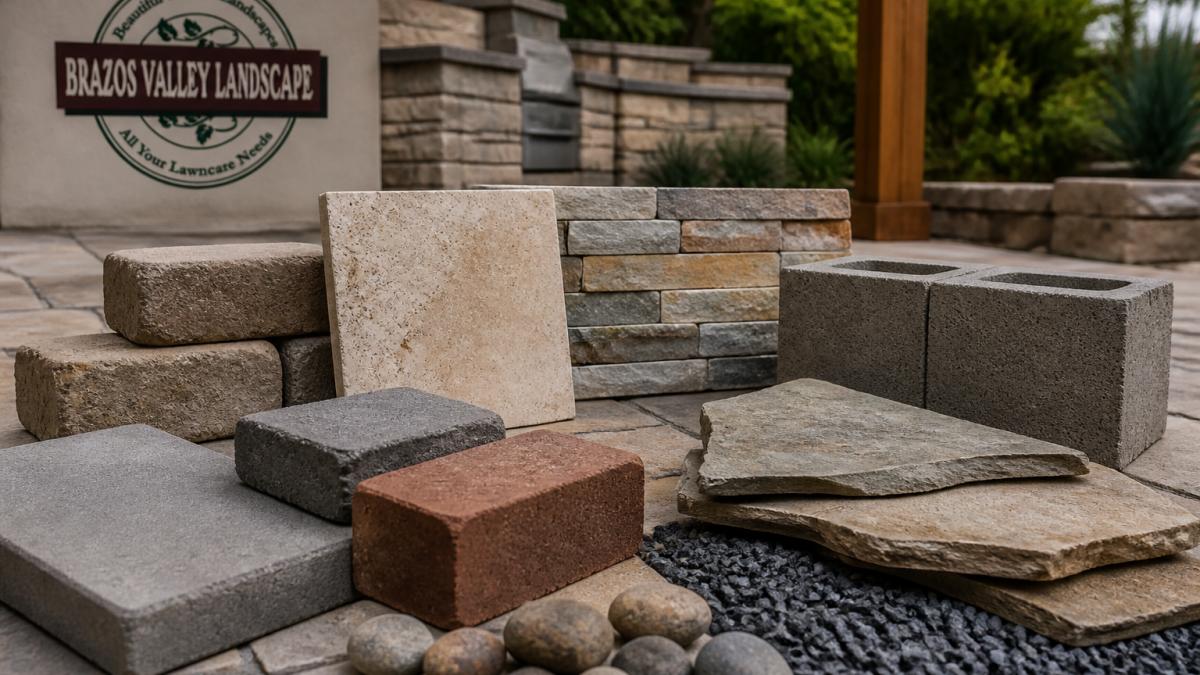
A paver patio is the highest-impact single hardscaping project for most yards, and the one where material choice swings the budget most. Concrete pavers sit at the affordable end, natural stone like flagstone or bluestone at the top, and clay brick between. Natural stone handles freeze-thaw movement better in some climates; concrete pavers are easier to replace one unit at a time.
For a budget-conscious build, a smaller footprint done correctly beats a large patio done cheaply. A compact patio sized to actual furniture, a dining set plus walkway clearance, costs far less than a sprawling slab and gets used just as much. Upgrades that add value without a full rebuild:
- Swapping a plain concrete slab edge for a contrasting paver border
- Adding a seat wall on one side instead of separate furniture
- Replacing a worn section rather than the whole patio
- Integrating a small planting bed into the patio edge to reduce paver count
The drawback is maintenance: polymeric sand joints need occasional topping up, and in heavy clay soil the base must be excavated and rebuilt properly or the surface will heave within a season or two.
Gravel Pathways and Garden Paths
Gravel is the least expensive hardscaping surface per square foot and the fastest to install, making it the default choice for a budget path.
The catch is edge containment: loose gravel migrates into lawn and beds without a hard edge, so budget for steel, aluminum, or stone edging. Avoid rounded pea gravel on a walking path, it shifts underfoot.
A slightly wider cut with a gentle curve reads as intentional design and costs little more than a straight line, though straight paths are cheaper to edge and easier to maintain.
Stepping-Stone Walkways
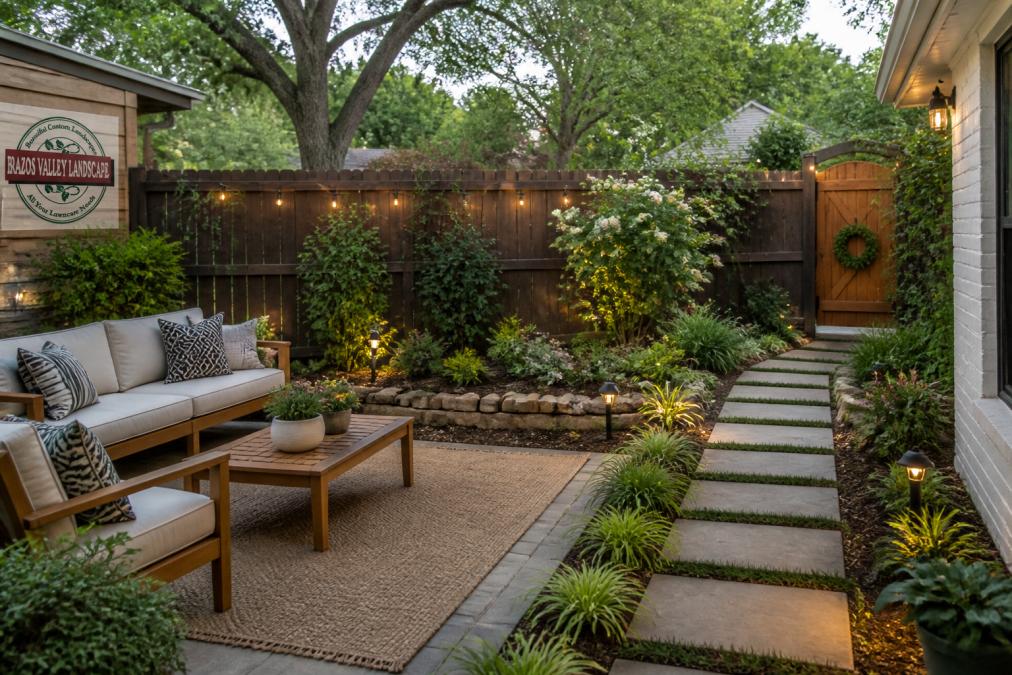
Stepping stones are the most space-saving walkway option and often the cheapest way to connect two areas of a yard. Set into lawn, mulch, or groundcover, they require no continuous base, so material and labor costs drop sharply.
Spacing matters more than stone choice: a comfortable stride is roughly two feet from center to center, and stones set too far apart force an awkward step.
The weakness is drainage and stability on sloped ground: each stone needs its own compacted base and a slight pitch so water does not pool.
Retaining Walls and Raised Beds
A retaining wall holds back soil and manages grade; a raised bed lifts the planting area above the ground. Both solve a yard that slopes or drains poorly, and both can be built from segmental concrete block, stacked stone, or timber.
Timber is the budget entry point and shortest-lived, needing replacement sooner than masonry in wet conditions.
Raised beds also solve poor native soil: build one bed with imported topsoil and grow in it immediately. For steep grade changes, two terraced short walls usually cost less than one tall wall and look more deliberate.
Borders and Edging
Landscape edging is the cheapest hardscaping element per linear foot and the one that most improves how finished a yard looks, creating a clean line between bed and lawn, keeping mulch out of grass, and stopping turf from creeping into beds.
The main options and their trade-offs:
| Edging Type | Relative Cost | Lifespan | Maintenance |
|---|---|---|---|
| Steel | Low | Long | Minimal |
| Aluminum | Moderate | Long | Minimal |
| Plastic | Lowest | Short | Frequent replacement |
| Natural stone | High | Longest | Minimal |
| Concrete curb | Moderate to high | Long | Minimal |
Plastic edging is cheapest and first to fail, often heaving after a hard freeze. Steel and aluminum cost more but hold a clean line for years, the best value for most homeowners. Natural stone costs the most and delivers the most visual weight, worth it only where the border is a focal point.
Fire Pits and Outdoor Gathering Areas
A fire pit is the single feature that most changes how a backyard gets used, and it can be built at almost any budget.
For safety, keep the pit away from structures and overhanging branches, and set it on a non-combustible base rather than grass or mulch.
Where budget fire features go wrong is undersizing the clear space around them. A pit that fits six people comfortably needs more room than most homeowners expect, and crowding it against a fence or bed feels cramped and unsafe.
DIY Hardscaping Projects for Beginners: Where to Start
The best first DIY hardscaping projects have the lowest consequence of failure: edging, gravel paths, stepping stones, and small raised beds.
Avoid as a first attempt retaining walls over a certain height, anything requiring structural footings, and gas or electrical fire features, these involve load calculations, permits, and safety risks not worth learning on your own yard.
A practical starting sequence for a beginner:
- Edging and borders to define beds and get a feel for layout
- A gravel or stepping-stone path to practice base preparation
- A small raised bed to learn stacking and drainage
- A compact paver patio once base work feels manageable
- A fire pit only after the surrounding hardscape is finished
The one skill that transfers across every project is base preparation. Get that right on a small path and the same method scales to a patio.
What Affects the Cost of Backyard Patio Installation
The cost of backyard patio installation is driven by four factors: square footage, material choice, site access, and site preparation.
Site access matters more than most people expect: a yard a wheelbarrow can reach easily costs less than one where material is carried by hand or lifted over a fence.
Because pricing depends on the specific site, dimensions, and materials, we do not quote flat figures here.
Small Backyard Hardscaping Layout Tips That Maximize Space
Small backyard hardscaping layout tips all point to one goal: make one area do two jobs. In a tight yard, a patio that also serves as the path to the gate, or a seat wall that doubles as a retaining wall, gets more function from the same square footage.
A few layout principles that work in small spaces:
- Use diagonal or curved lines to make a compact patio feel larger than a rigid rectangle
- Extend the patio to the property line so the yard reads as one continuous space rather than a patio plus leftover lawn
- Build vertically with raised beds or a low wall to add planting without losing floor space
- Choose one focal point, such as a fire pit or a single specimen plant, instead of several competing features
- Keep the palette simple: one paving material, one edging type, one dominant plant color
The most common mistake in a small yard is trying to include every feature. A tight space with a fire pit, water feature, built-in grill, and dining area feels crowded, not complete. Pick two functions and build them well.
How to Compare Hardscaping Materials on a Budget
Comparing hardscaping materials on a budget comes down to four variables: upfront cost, lifespan, maintenance, and local climate performance. The cheapest material is rarely the least expensive over time.
| Material | Relative Cost | Lifespan | Maintenance | Best For |
|---|---|---|---|---|
| Concrete pavers | Low to moderate | Long | Joint sand top-ups | Patios, walkways |
| Natural stone | High | Longest | Minimal | Focal patios, steps |
| Gravel | Lowest | Moderate | Periodic top-up | Paths, utility areas |
| Clay brick | Moderate | Long | Minimal | Traditional patios, edging |
| Timber | Low | Short | Replacement | Raised beds, temporary walls |
| Segmental block | Moderate | Long | Minimal | Retaining walls |
The right question is not which material is cheapest, but which is cheapest for the lifespan you need.
Climate matters too: in areas with expansive clay soil and heavy seasonal rain, base preparation and drainage outweigh surface material, while in hotter, drier regions lighter-colored pavers stay cooler underfoot and hold up better to sun.
Drainage and Base Preparation: What Most DIY Guides Skip
The base for any paved surface must be excavated to depth, filled with compacted crushed stone, and graded so water moves away from the structure.
For walls, drainage means gravel backfill and weep holes so water behind the wall escapes instead of building pressure.
If your yard already pools after rain, solve that as part of the hardscaping, not after it, building a patio over a drainage issue traps the water and makes it worse.
guidance from the USDA Natural Resources Conservation Service on soil drainage and grading
If drainage and grading feel like more than you want to take on, this is where professional help pays for itself. Brazos Valley Landscape, Inc. handles full hardscaping projects, from base preparation and drainage to finished patios, walls, and outdoor living structures, so the work is done once and done correctly.
Frequently Asked Questions
What are the most cost-effective hardscaping materials for backyards?
Gravel, crushed stone, and reclaimed brick are typically the most budget-friendly options for backyard hardscaping. Gravel pathways cost less per square foot than pavers or natural stone and require minimal base preparation. Concrete pavers offer a mid-range option with good durability. For raised beds, pressure-treated lumber or concrete blocks keep costs down. Mulch and groundcover are inexpensive softscape additions that complement hardscaping. When planning, request quotes from local providers to compare material and installation costs for your specific project.
How can I incorporate hardscaping into a small backyard on a budget?
Start with a single functional element, such as a small paver patio or gravel pathway, rather than trying to hardscape the entire yard at once. Use space-saving layouts like curved paths that double as planting borders. Choose inexpensive materials like gravel or stepping stones for pathways, and use edging to define beds without expensive retaining walls. Phased projects let you spread costs over time. A professional designer can help you prioritize elements that add the most visual impact and property value for your budget.
Are DIY hardscaping projects worth the cost savings?
DIY hardscaping can save on labor costs, but it requires careful planning, proper base preparation, and the right tools. Simple projects like gravel paths, stepping-stone walkways, and garden borders are beginner-friendly and forgiving of minor mistakes. More complex projects like retaining walls, paver patios, and fire pits involve excavation, grading, and compaction that affect long-term durability. If you lack experience with drainage or base work, hiring a professional for those elements prevents costly rework. Many homeowners mix DIY and professional help to balance budget and quality.
How do I plan a backyard hardscaping layout that fits my budget?
Begin by measuring your space and identifying the primary function you want, such as dining, lounging, or gardening. Sketch a layout that groups hardscaped areas near your home's exit for easy access. Prioritize one or two elements that deliver the most use and visual impact, like a patio or fire pit area. Use affordable materials for secondary features like pathways and borders. Get itemized quotes that separate materials, labor, and site preparation so you can see where costs add up. Phasing the project over several seasons keeps each phase manageable.
A backyard that drains poorly, shifts underfoot, or never quite feels finished is usually a preparation problem, not a design problem. Brazos Valley Landscape, Inc. builds hardscaping that holds up: comprehensive landscape and hardscape installation, custom outdoor living structures, and drainage solutions sized to your actual yard, all delivered as cost-effective, high-quality work. Get started with Brazos Valley Landscape, Inc. and turn your outdoor space into one that performs for years.