 how-to
Outdoor Living Structure Construction Tips for Your Yard
Table of Contents
- Start With a Plan: Outdoor Living Space Layout and Site Planning
- Outdoor Structure Permits, Zoning, and Setbacks
- Choosing Outdoor Structure Materials That Last
- Pergola Construction Tips for a Solid Build
- Step-by-Step Build Sequence and Tool Checklist
- Shade, Weather Protection, and Year-Round Comfort
- Maintenance, Inspections, and Long-Term Performance
- Frequently Asked Questions
Last Updated: October 20, 2026
Start With a Plan: Outdoor Living Space Layout and Site Planning
An outdoor living structure works best when the plan starts with the yard, not the catalog. Before anyone digs a footing, decide how the space will be used, then map that use onto the property.
Walk the site at different times of day. Note where the sun hits, where water pools after rain, and where the ground stays soft. Those details shape everything that follows.
Here is how we break down the planning stage:
- Define the use first. Dining, lounging, cooking, or all three. Each needs different space and clearance.
- Create activity zones. A dining area, a lounge area, and a cooking zone can share one structure if the layout keeps paths clear.
- Study the yard layout and property lines. Measure setbacks and leave room for landscaping and paths.
- Connect indoors to outdoors. Line the structure up with a rear door or window so the transition feels natural.
- Pick a focal point. A fireplace or a feature wall gives the eye somewhere to land.
Small lots are not a dealbreaker. Tight spaces reward careful space planning more than big ones do. A compact pergola with built-in seating often beats an oversized open patio nobody uses.
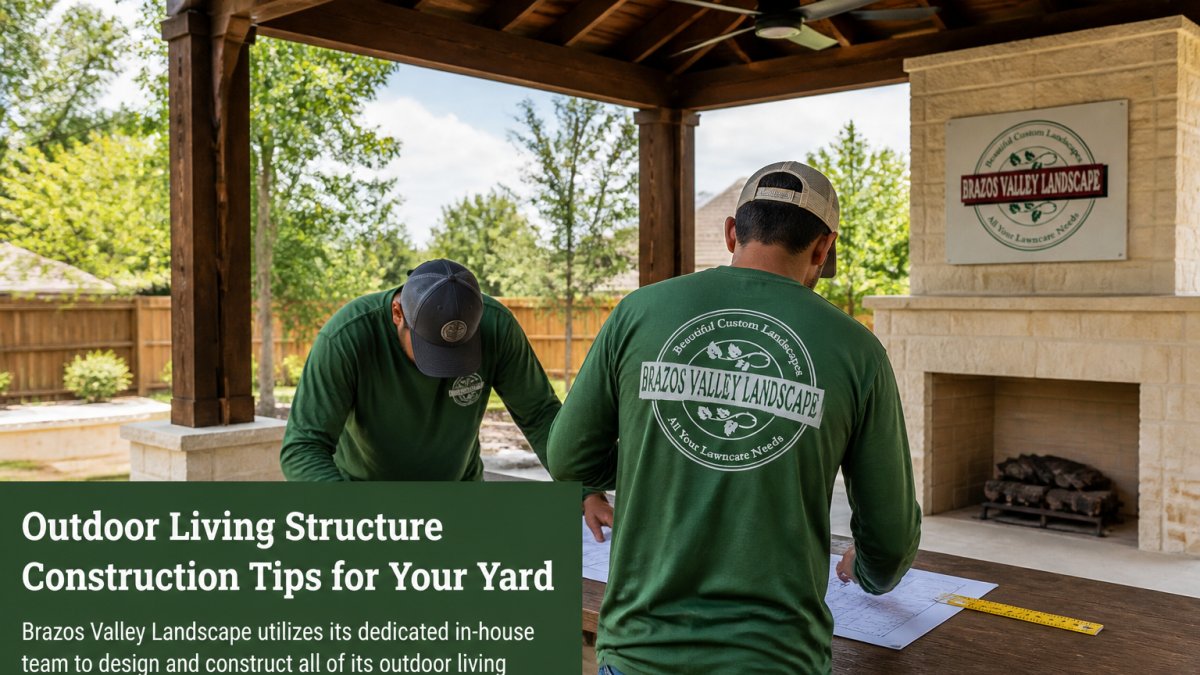
At Brazos Valley Landscape, Inc., our in-house team designs and builds every outdoor living structure we install, so the layout and the construction plan come from the same people.
Outdoor Structure Permits, Zoning, and Setbacks
Permits and zoning rules decide what you can build before design ever matters. Check with your local building department early, because requirements vary by city and county.
Most jurisdictions treat a covered structure differently from an open one. A pergola may need less review than a pavilion with a solid roof. Setbacks, height limits, and lot coverage rules all come into play.
Ask these questions before you commit:
- Does the structure need a building permit?
- What are the setback distances from property lines?
- Are there height or lot coverage limits?
- Do HOA rules add restrictions on top of city code?
Get the answers in writing. A design that ignores them gets redrawn later, and that costs time and money.
Choosing Outdoor Structure Materials That Last
Material choice drives durability, maintenance, and how the structure looks in ten years. There is no single best option, only the best fit for your climate, budget, and maintenance tolerance. The comparison below focuses on lifecycle trade-offs rather than brand names.
| Material | Upfront Cost | Maintenance | Lifespan | Best For |
|---|---|---|---|---|
| Cedar | Moderate | Refinish every 1-2 years | 15-20 years | Pergolas, visible frames |
| Treated lumber | Low | Refinish every 2-3 years | 10-15 years | Budget frames, painted finishes |
| Composite | Moderate to high | Wash annually | 20-30 years | Low-maintenance decks and cladding |
| Aluminum | Moderate | Wash annually | 20-30 years | Powder-coated frames, coastal areas |
| Steel | Moderate | Inspect for rust; touch up | 25-40 years | Long spans, heavy loads |
| Stone and masonry | High | Minimal | 50+ years | Fireplaces, feature walls, piers |
Cost drivers. Upfront cost is rarely the whole story. Wood is inexpensive to buy but demands refinishing labor on a schedule. Composite costs more upfront but reduces annual maintenance. Metal resists rot and insects but can dent or chalk depending on finish. Stone and masonry carry the highest upfront cost but outlast every other option and require little care beyond inspection.
Climate fit. In hot, humid regions, wood needs more frequent refinishing and metal should be powder-coated or galvanized. In areas with freeze-thaw cycles, masonry and concrete footings must be detailed to resist frost heave. In coastal areas, stainless or hot-dip galvanized connectors are worth the premium over standard galvanized.
Local materials. Sourcing stone or timber from nearby suppliers often cuts transport costs and helps the structure fit the surroundings. Ask suppliers what species and stone types are locally available before specifying a material that has to travel.
Connections matter more than the material. Posts, beams, and rafters need proper metal connectors and bolts rated for the load. A beautiful material fails fast when the joinery is weak. Specify connectors by load rating, not by appearance, and confirm that fasteners are compatible with the material they touch to avoid galvanic corrosion.
At Brazos Valley Landscape, Inc., our dedicated in-house team designs and constructs all of our outdoor living structures, which means material selection, connection detailing, and construction sequencing are handled by the same people from the start.
Pergola Construction Tips for a Solid Build
A pergola lives or dies on its frame. Get the posts, beams, and rafters right and the rest follows.
Set posts on proper footings below frost depth for your area. Space them evenly and brace them until the beams are secured. Check each post for plumb with a spirit level before you lock anything down.
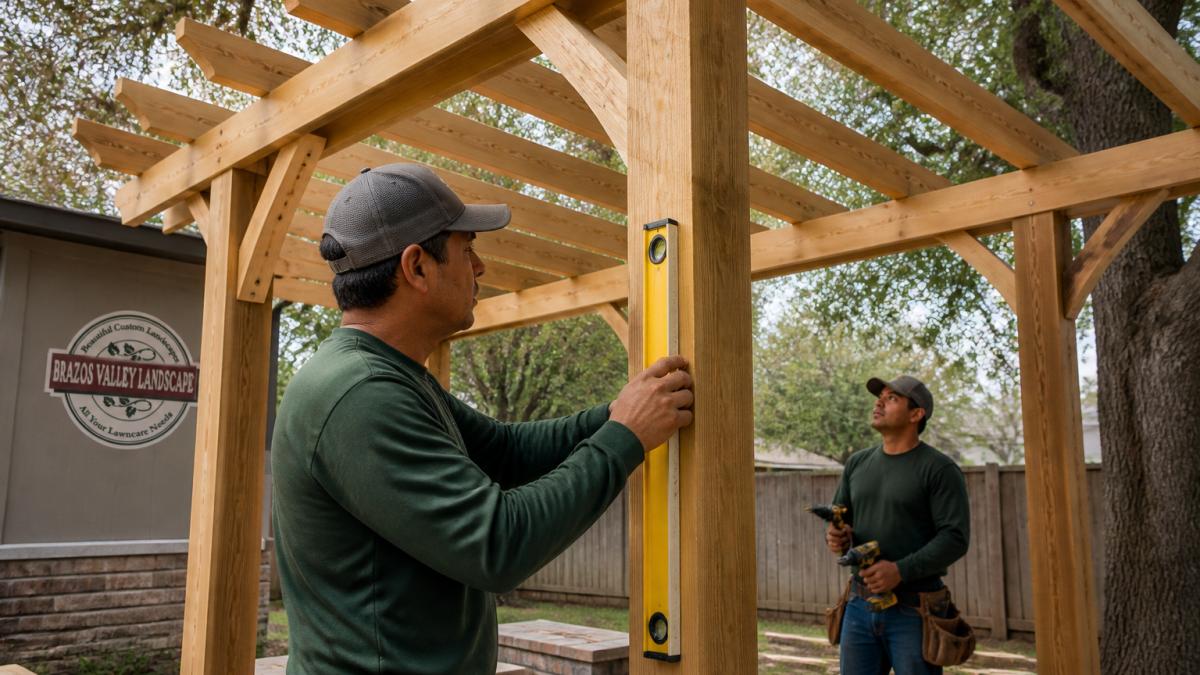
A few habits separate a sturdy pergola from a wobbly one:
- Set posts in concrete footings, not just on pavers.
- Use galvanized or stainless connectors at every joint.
- Keep beams level and rafters evenly spaced.
- Add diagonal bracing where the design allows.
- Fasten the structure to the ground or an existing slab.
For larger spans, have a structural engineer review the design. Rafter sizing and beam loads are not guesswork, and a stamped plan protects you if inspection questions come up.
Step-by-Step Build Sequence and Tool Checklist
A clear build order keeps the project moving and prevents rework. The sequence below reflects how a typical covered structure moves from bare ground to final inspection, with the checkpoints that matter at each stage.
| Step | Task | What to Watch |
|---|---|---|
| 1 | Confirm permits and mark utilities | Call 811 before digging; keep the approved plan on site |
| 2 | Lay out footings and dig | Match the approved plan; verify setbacks and depth |
| 3 | Set posts and pour concrete | Check plumb and level; brace until beams are secured |
| 4 | Install beams and rafters | Use rated connectors; confirm span limits against the plan |
| 5 | Add roof, shade, or slats | Follow manufacturer span and slope requirements |
| 6 | Finish electrical and lighting | Licensed trade where required; conduit before finishes |
| 7 | Final inspection and cleanup | Walk the punch list; confirm drainage away from footings |
Sequencing logic. The order is not arbitrary. Footings come before posts because post placement depends on accurate footing layout. Beams come before rafters because rafter spacing is set by beam location. Electrical rough-in happens before roof and finish work so conduit is not cut into finished surfaces. Inspection happens after all structural and electrical work is complete but before landscaping and furniture go in.
Tool checklist by phase.
- Layout and digging: tape measure, string line, marking paint, shovel, post-hole digger, wheelbarrow, level.
- Framing: circular saw, drill and impact driver, framing square, spirit level, post level, clamps, safety glasses.
- Fastening and finishing: wrench set, socket set, caulk gun, paint or stain supplies, broom.
Inspection checkpoints. Most jurisdictions require at least one inspection after footings are poured and another after framing is complete. Confirm the inspection schedule with the local building department before work starts so you are not waiting on a inspector with an open frame.
Call 811 before you dig, every time. Utility lines sit closer to the surface than most homeowners expect, and a strike is both dangerous and expensive.
At Brazos Valley Landscape, Inc., our dedicated in-house team designs and constructs every outdoor living structure we build, so the build sequence and the design intent stay aligned from the first footing to the final inspection.
Shade, Weather Protection, and Year-Round Comfort
Shade and weather protection decide how much you actually use the space. A structure that bakes in summer or floods in spring sits empty.
Slatted roofs let you tune the light. Adjustable louvers give more control. A solid patio cover blocks rain and sun but needs proper drainage and slope.
Think about seasonal use from the start. Ceiling fans, heaters, and lighting extend the season in both directions. Add conduit and outlets during construction so you are not cutting into finished work later.
Drainage belongs in this conversation. Grade the ground away from the structure and route water to a safe spot. If your yard already pools after rain, fix that before the build, not after.
Maintenance, Inspections, and Long-Term Performance
Long-term performance comes down to a simple routine. Inspect the structure twice a year and after any major storm.
Look for loose connectors, rust, rot, and movement in the posts. Check that water drains away and does not sit against the footings. Refinish wood on the schedule the product maker recommends.
Keep a short maintenance log:
- Spring: inspect joints, clean surfaces, check drainage.
- Fall: clear debris, tighten hardware, prep for winter.
- After storms: check for shifted beams or cracked members.
Fix small problems early. A loose bolt or a soft post is cheap to address now and costly to ignore.
An outdoor living structure is only as good as the planning and construction behind it. If you want the design, permits, and build handled by one accountable team, Brazos Valley Landscape, Inc. brings its in-house design and construction crew to every project. We handle custom landscape design, hardscaping, outdoor living structures, kitchens, and pools across the greater College Station, Bryan, Navasota, Brenham, and Hempstead areas. Contact us to turn your outdoor vision into a space you use all year.
Frequently Asked Questions
What should I consider before building an outdoor living structure?
Start with how you will use the space and how big it needs to be. Map out your yard layout, including paths, existing trees, and drainage. Check local permits and setbacks before you buy anything. Decide on a structure type such as a pergola, pavilion, or patio cover, then pick materials that suit the climate. A clear plan prevents costly changes later and keeps the build on schedule. Brazos Valley Landscape uses its in-house team to design and construct structures, which keeps planning and building under one roof.
Do I need a permit to build a pergola or patio cover?
Many jurisdictions require a permit for covered structures, especially when they are attached to a house or exceed a certain size. Rules vary by city and county, so check with your local building department before construction. Ask about zoning setbacks, height limits, and inspection requirements. A contractor who works in your area regularly can tell you what applies to your property. Skipping the permit step can lead to fines or a structure that must be removed, so confirm the requirements early.
What materials work best for outdoor living structures?
Wood offers warmth and can be stained or painted, but it needs regular sealing. Aluminum and steel resist rot and insects and need little upkeep. Composite boards mimic wood with less maintenance. Stone and masonry suit columns and fireplaces but add weight that may require footings. Choose based on climate, budget, and how much upkeep you want. In humid areas, treated wood and corrosion-resistant metal connectors help the structure last. Match the material to the structure type and the look of your home.
Should I hire a contractor to build an outdoor living structure?
A contractor brings design experience, knowledge of local codes, and access to reliable crews. Structural work such as footings, framing, and connections is hard to fix later if done wrong. If your project includes electrical, plumbing, or gas lines, licensed trades are usually required. A professional can also help you avoid permit delays and material mistakes. For simple, small projects, some homeowners build themselves, but a custom structure with multiple features is usually best left to a team that builds them regularly.