
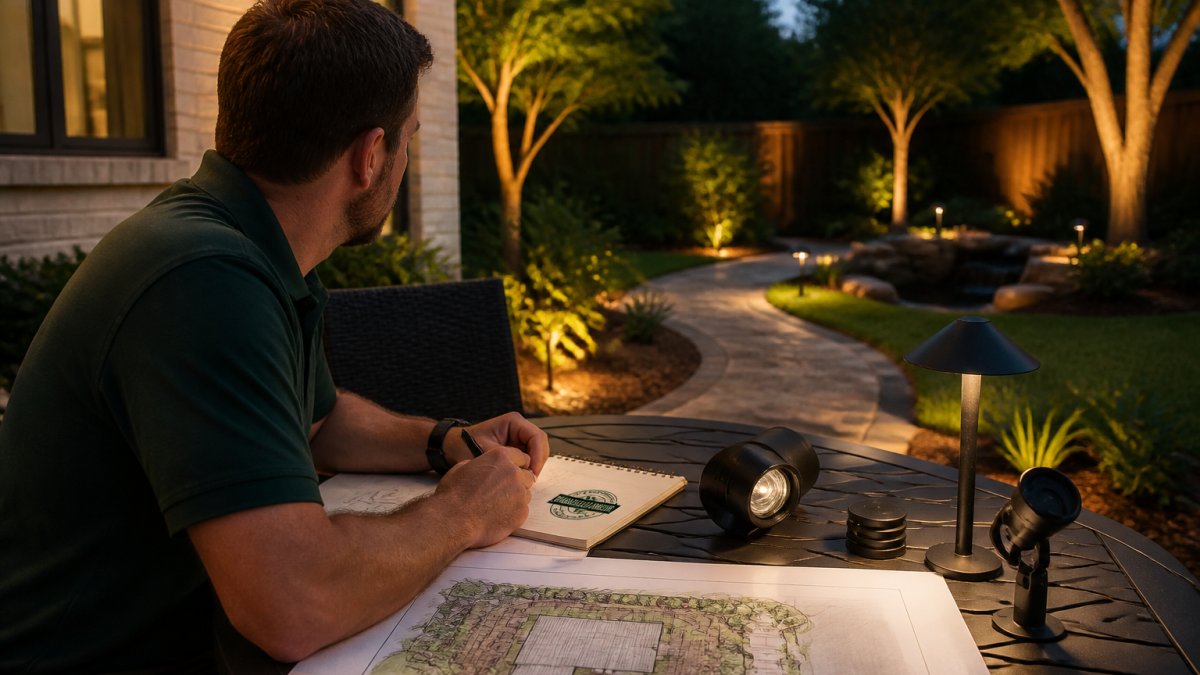
 how-to
Landscape Lighting Design for Homes: A How-To Guide
Table of Contents
- Landscape Lighting Design for Homes: What You'll Need Before You Start
- How to Build a Landscape Lighting Layout That Actually Works
- Choosing Fixtures, Color Temperature, and Layered Light
- Using Landscape Lighting Design Software to Preview Your Plan
- Outdoor Lighting Design Ideas for Pathways, Facades, and Patios
- Electrical Planning: Transformers, Voltage Drop, and Controls
- Landscape Lighting Mistakes That Ruin a Good Design
- Frequently Asked Questions
Last Updated: October 5, 2026
Landscape Lighting Design for Homes: What You'll Need Before You Start
Landscape lighting design for homes starts with a simple rule: decide what you want people to see at night, then light only that. We plan every outdoor lighting project around focal points, safety, and how the yard is actually used after dark.
Good landscape lighting is the practice of placing low-voltage fixtures to guide movement, highlight architecture, and extend outdoor living space past sunset. It is not about flooding the yard with light. It is about control.
Before you buy a single fixture, gather these basics:
- A rough sketch of your yard with paths, beds, and structures marked
- Measurements from your outdoor outlet to the farthest fixture
- A note on what you want lit: entry, facade, trees, or patio
- Your budget range, since pricing depends on fixture count, wiring runs, and controls
- A call to a licensed electrician if you need a new outdoor circuit
For official guidance on safe outdoor electrical work, see the U.S. Consumer Product Safety Commission resources on outdoor wiring safety.
Tools and Materials Checklist
- Tape measure and graph paper for your base plan
- Landscape flags or stakes to mark fixture spots
- Low-voltage transformer sized to total wattage
- Direct-burial cable rated for outdoor use
- Waterproof connectors and gel-filled caps
- LED fixtures: path lights, spotlights, well lights, floodlights
- Timer or smart controller
- Shovel, cable staples, and wire strippers
How to Build a Landscape Lighting Layout That Actually Works
A landscape lighting layout is a scaled drawing that shows every fixture, its beam direction, and the cable run back to the transformer. Build it before you dig.
Here is a step-by-step process:
- Draw your yard to scale on graph paper. Mark the house, paths, driveways, beds, trees, and patio.
- Walk the yard at night with a flashlight. Note dark spots and safety hazards.
- Pick three to five focal points. These are the features worth lighting first.
- Assign a fixture type to each focal point.
- Mark cable runs from the transformer to each zone.
- Total the wattage and size your transformer.
- Test with temporary stakes before burying anything.
Spacing, Beam Angles, and Fixture Count
Spacing depends on fixture height and beam angle. A general rule:
| Fixture Type | Typical Spacing | Beam Angle | Best Use |
|---|---|---|---|
| Path lights | 6-10 feet apart | 60-90 degrees | Walkways, garden beds |
| Spotlights | 8-15 feet from subject | 15-40 degrees | Trees, facade, focal points |
| Well lights | At base of feature | 10-30 degrees | Uplighting walls and trunks |
| Floodlights | 15-25 feet apart | 60-120 degrees | Driveways, wide open areas |
| Step lights | One per 3-4 feet of rise | 90 degrees | Stairs, low walls |
Fixture count follows focal points, not yard size. A small yard with three strong focal points needs fewer fixtures than a large yard with a winding path.
Choosing Fixtures, Color Temperature, and Layered Light
Layered lighting means combining ambient, task, and accent light so the eye sees depth instead of flat brightness.
- Ambient: soft fill from path lights and low floodlights
- Task: brighter light at steps, entries, and grills
- Accent: narrow spotlights and well lights for trees and walls
Color temperature matters more than most homeowners expect. Warm white in the 2700K to 3000K range blends with brick, stone, and wood.
For light output, keep fixtures under 500 lumens for path and accent work. Higher output belongs on driveways and security zones.
Using Landscape Lighting Design Software to Preview Your Plan
Landscape lighting design software lets you see beam spread, glare, and shadow before you buy anything. Free options handle basic 2D layouts. Paid tools add 3D walkthroughs and photometric lighting.
What to look for:
- Ability to import a photo of your home and overlay fixtures
- Beam angle and lumen controls per fixture
- Night-render mode to check glare on windows and neighboring properties
- Export to a PDF plan you can hand to an installer
Software cannot replace a night walk-through, but it catches obvious errors. It also helps you compare two layouts side by side before committing to a purchase.
Turning a Software Preview Into a Measured Plan
Most guides stop at inspiration. A measured plan is what actually gets built. Use your software render to lock in four numbers per fixture: mounting height, distance to the subject, beam angle, and lumen output. Those four values drive everything else.
A practical workflow:
- Set the fixture height first. Path lights typically sit 18-24 inches above grade; well lights sit at grade; spotlights mount 8-15 feet from the subject depending on beam angle.
- Match beam angle to the subject. Narrow beams (10-30 degrees) for trunks and columns; medium (30-60 degrees) for shrubs and walls; wide (60-120 degrees) for driveways and open areas.
- Check overlap. Adjacent path lights should overlap their pools of light by roughly 30 percent so the walk reads as continuous, not as a string of dots.
- Verify glare. In night-render mode, look at the view from inside the house and from the street. If a fixture's hot spot is visible, shield it or aim it down.
- Export the plan. A PDF with fixture symbols, cable runs, and a wattage total is what an installer needs to bid the job accurately.
Photometric Preview vs. Real-World Walk-Through
Photometric tools estimate illuminance in foot-candles at a given distance. They are useful for comparing two layouts, but they cannot model every tree canopy, fence shadow, or reflective stone surface. Treat the render as a hypothesis and the night walk-through as the test.
For general guidance on outdoor lighting standards, see the Illuminating Engineering Society recommendations on residential exterior lighting.
Outdoor Lighting Design Ideas for Pathways, Facades, and Patios
Outdoor lighting design ideas work best when each zone has one clear job. Pathways get safety. Facades get drama.
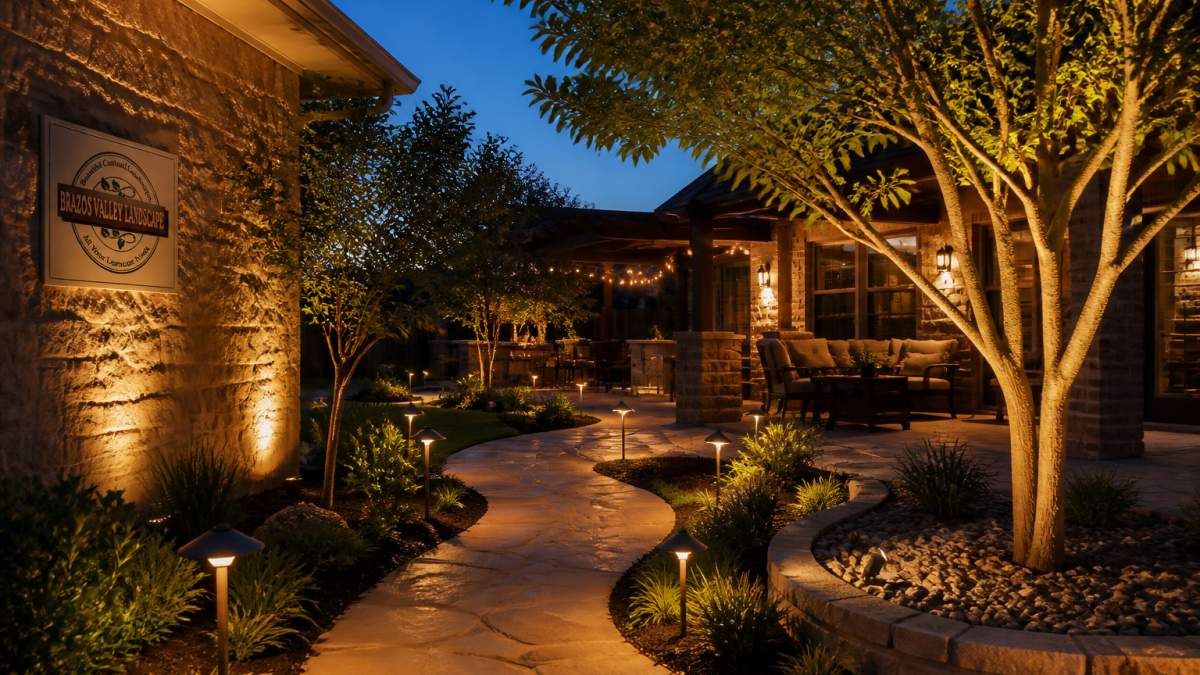
For pathways, place path lights on the dark side of the walk so light falls across the surface, not into the eyes.
For facades, use uplighting at the base of walls and architectural features. Graze textured stone with a wide beam.
For patios, decks, and pergolas, layer string lights or downlights overhead with step lights below.
Electrical Planning: Transformers, Voltage Drop, and Controls
Voltage drop is the silent killer of low-voltage systems. As cable runs get longer, voltage falls, and fixtures dim or flicker. The fix is bigger cable, shorter runs, or multiple transformers.
Plan your system around these rules:
- Total fixture wattage should stay under 80% of transformer capacity
- Keep any single cable run under 100 feet where possible
- Use thicker gauge cable for long runs
- Split the yard into zones so one failure does not kill the whole system
Sizing the Transformer
Add up the wattage of every fixture on the circuit. If your plan calls for twelve 4-watt LED path lights and four 7-watt LED spotlights, that is 48 + 28 = 76 watts.
A common pattern is to oversize the transformer by one step rather than run it near capacity. Transformers run cooler and last longer when they are not maxed out.
Voltage Drop and Cable Gauge
Low-voltage systems typically run on 12 or 15 volts. Over a long run, resistance in the cable drops the voltage the farthest fixtures see. The practical levers are cable gauge and run length.
- 16-gauge cable is common for short runs and light loads
- 14-gauge cable handles longer runs or heavier loads
- 12-gauge cable is used for the longest runs or the highest wattage
A useful rule of thumb: keep the total wattage on any single 16-gauge run under about 100 watts and the run under about 100 feet. If you exceed either, step up to 14-gauge or split the run.
Controls: Timers, Photocells, Dimmers, and Smart Controllers
Controls matter as much as the fixtures. A simple timer handles most homes and costs little. A photocell turns the system on at dusk and off at dawn without any schedule to maintain.
Smart controllers add scheduling, dimming, and app control. Some integrate with home automation systems for sunset triggers and vacation modes.
For homes in dark-sky-conscious areas, choose shielded fixtures that aim light down. This reduces light pollution and keeps neighbors happy.
Landscape Lighting Mistakes That Ruin a Good Design
Landscape lighting mistakes usually trace back to planning, not products. The fixtures are fine. The layout is not.
The most common problems we see:
- Too many fixtures. More light does not mean better light. Overlighting flattens the design.
- Glare into windows or eyes. Unshielded fixtures pointed sideways ruin the view from inside.
- Mixed color temperatures. Warm and cool fixtures on the same property look unfinished.
- No zones. One switch for the whole yard means no control.
- Ignoring voltage drop. Long runs on thin cable dim the farthest fixtures.
- Skipping maintenance. Dirty lenses and loose connectors cut output over time.
A simple fix list:
| Mistake | Fix | Impact |
|---|---|---|
| Overlighting | Cut fixture count by 20% | Restores depth and shadow |
| Glare | Add shields or aim down | Improves comfort and safety |
| Mixed color temps | Standardize at 2700K-3000K | Unified look |
| No zones | Split into 2-4 zones | Better control, lower energy use |
| Voltage drop | Thicker cable or second transformer | Even brightness |
| Poor maintenance | Clean and check twice a year | Longer fixture life |
If you want the design, installation, and maintenance handled in one place, Brazos Valley Landscape, Inc. builds complete outdoor lighting plans as part of its landscape and hardscape services.
Frequently Asked Questions
How do you plan a landscape lighting layout?
Start by walking the property at night and marking focal points: entryways, trees, architectural features, and pathways. Measure distances between fixtures, typically 6 to 10 feet apart for path lights, and note the beam angle needed for each target. Sketch the plan on graph paper or use design software, then group fixtures into lighting zones so you can control them separately. A measured layout prevents over-lighting and keeps voltage drop manageable on long runs.
What are common problems with landscape lighting?
The most frequent issues are glare from poorly aimed fixtures, voltage drop on long cable runs that dims the farthest lights, and over-lighting that flattens the design. Other problems include mismatched color temperatures, fixtures placed where they get buried by mulch, and transformers sized too small for the total wattage. Planning fixture placement and load calculations before installation prevents most of these landscape lighting mistakes.
Can you design and install landscape lighting yourself?
Yes, a low-voltage system is a realistic DIY project for a handy homeowner. The work involves running cable, connecting fixtures with waterproof connectors, and mounting a transformer. The harder part is the design: choosing beam angles, spacing, and zones so the result looks intentional rather than dotted. If the plan includes uplighting on tall trees or long driveway runs, a professional design consult is worth the cost before you dig.
What is the best free software for landscape lighting design?
Several manufacturers offer free online planners that let you upload a photo of your home, drop in fixture symbols, and see beam spreads and coverage. These tools handle basic landscape lighting layout work well. For more control over layers, zones, and voltage calculations, general-purpose design apps with a free tier can work. Whichever you choose, confirm the tool lets you export a fixture list you can take to a supplier.
A great lighting plan is not about how many fixtures you install. It is about control: what gets lit, when, and how it feels after dark. Brazos Valley Landscape, Inc. handles custom landscape design and installation, outdoor living structures, and full outdoor lighting layouts for homes across the Brazos Valley. Contact us to turn your outdoor vision into a plan you can walk through at night.